Snowboard Goggles

TOP MONEY SAVING TIPS

Top 5 money saving tips

We love to spend money on snowboarding because it’s our passion project, but it all honesty there are things that you really don’t need to spend too much on. You can buy stuff cheaper second hand or just go for non-branded items and you’ll save a ton of cash and it won’t make a lot of difference to your skill level or enjoyment.

So let’s have a look at where you can save some cash…

1-Bindings

Binding technology really hasn’t evolved that much in the last 20 years. Companies may try to differentiate their tech from others on the market, but really everything is pretty much the same.

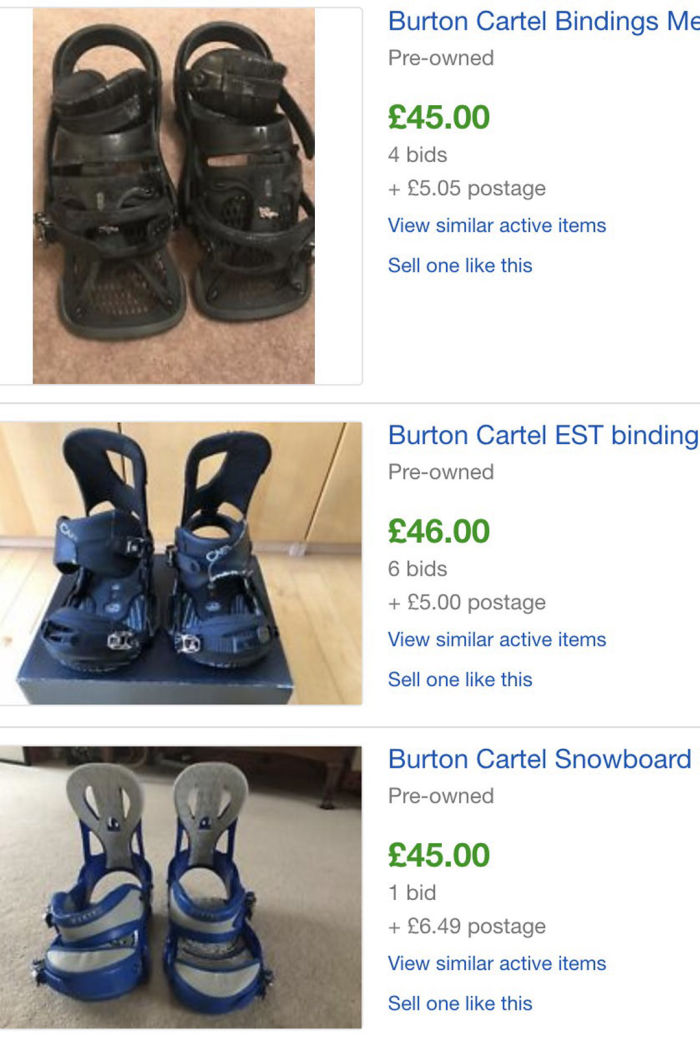
Of course you don’t want to be going for something from the late nighties. There’s plenty of that crap on ebay, yet a binding from the last few years is going to be just as good and a half/quarter of the retail price. When searching online you should…

- Look for solid, dependable brands that consistently deliver
- Check old catalogues online for recent models to pinpoint your hit list
- Check ebay completed listings to see what price they typically fetch
- Add a notification on ebay for new listing with your targets
- Setup an Auction Sniper account and set your max bid
- Wait to win the auction

If you struggle to find what you need I recommend The Snowboard Shop or the Sick and the Wrong in the UK. They’ll discuss in detail your needs and find something just right for you. They also offer Maverix customers a 10% discount.

2-Thermals

We’re hit pretty hard with the benefits of suitable layering and how we should be using Merino as our primary base layer, yet that top is going to be £70.

Layering is certainly a very important aspect of snowboarding, but generally layering is not as critical unless you’re a unit, sweating like crazy or plan on doing some mountaineering/splitboarding where heat and sweat management becomes more critical.

I run pretty cold and I find that the Merino base layers actually keep me more cold. Thats ideal for me completing some hefty splitboard tours, but not ideal for general shredding on the mountain.

I want the benefits of layering appropriately to help manage my temperature, keep me warm and wick sweat so I select the appropriate level of technical outerwear depending on what I planning on doing that day. The key is that I don’t need to spend a fortune to achieve the right results.

Last season I brought my usual Merino Icebreaker setup, but I didn’t end up using them half as much as my dirt cheap Decathlon versions.

After an initial dome test I found these thermals were great. Their wicking capability is just the same as my Merinos, yet they’re more warm. Another option is the army surplus store. I’ve tested some army issue thermals from Italy and Norway and their great, and a fraction of the cost of mainstream brands.

I’ve completed a few 700m+ splitboard days and I get the usual back sweat from carrying a backpack, but thats the same as with my Merino thermals.

Another trait of the Merino is supposedly the reduction in smell. I’ve never noticed it myself. These again hit the spot. I would use a top and bottoms over 2/3 day stints on long camps with no noticeable signs on smelling. I guess the key there is shower regularly :)

So I would have a hunt around because you could be spending an extra £140 for a pair of legging and top if you go down the branded route, and for most snowboarding adventures you really don’t need it.

If you want to learn more about outerwear and layering, check out this handy infographic I’ve created.
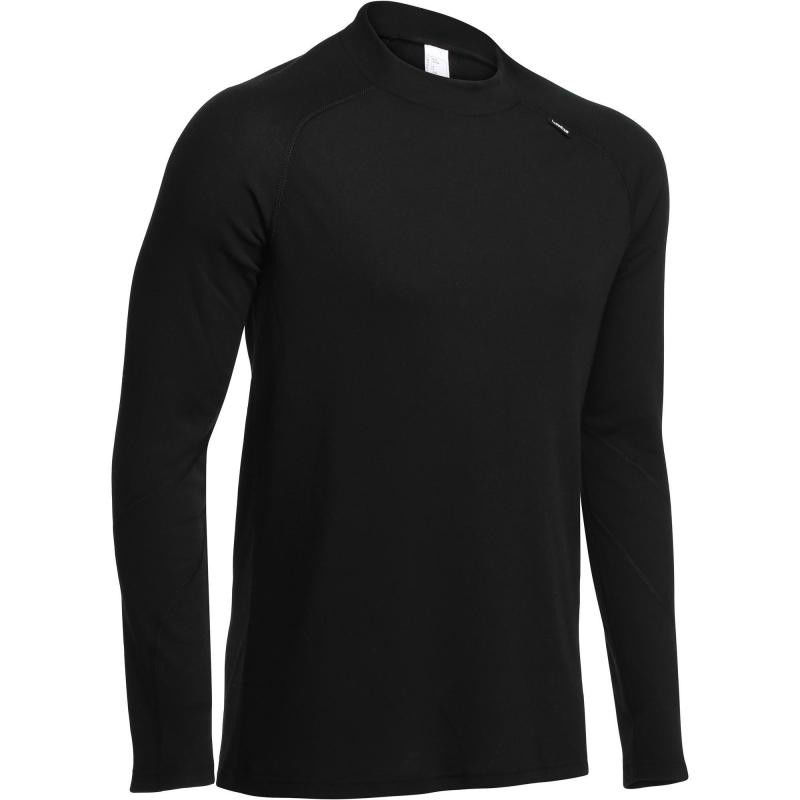
Decathlon Thermals for £3.99

Decathlon Thermals for £3.99

3-Impact protection

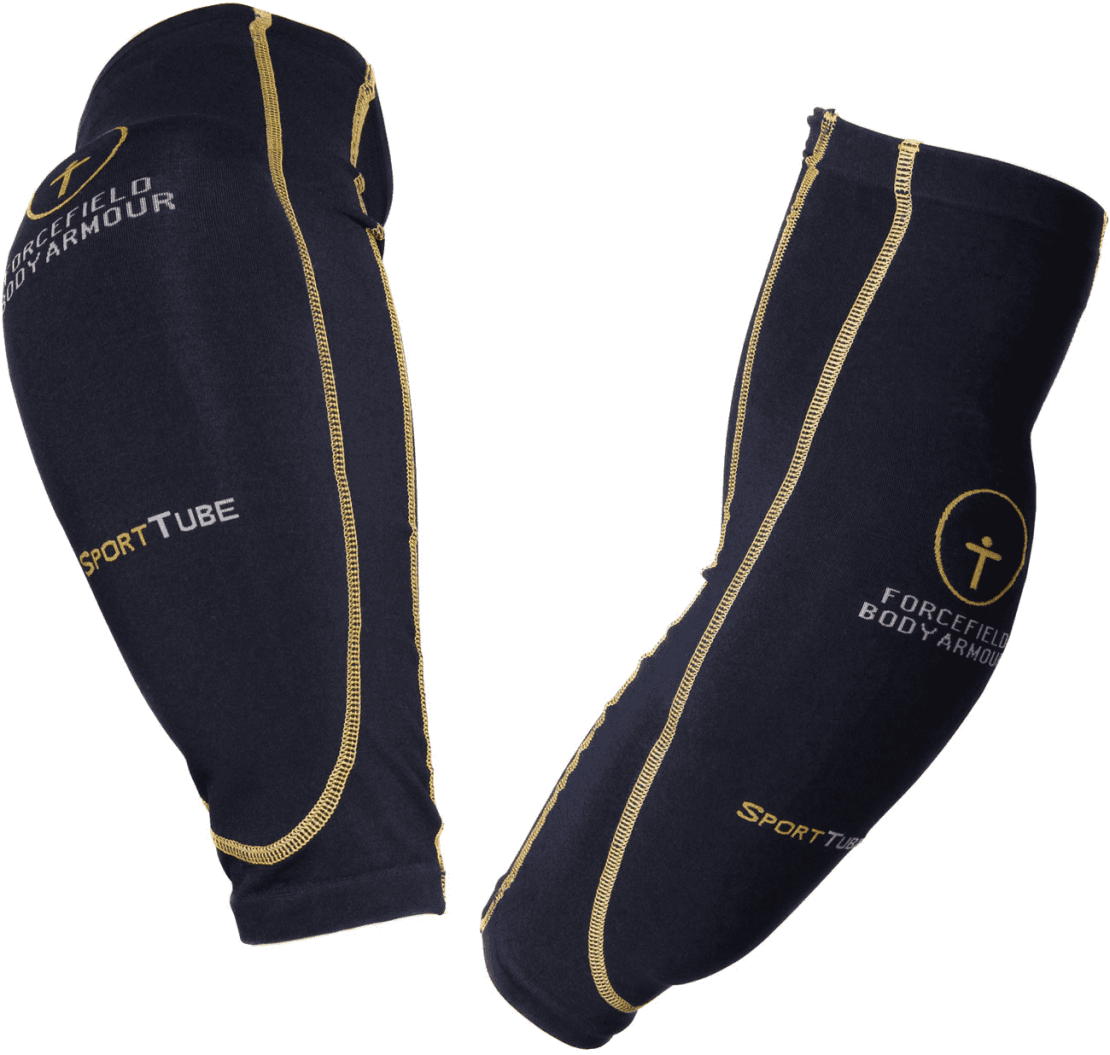
Helmet is a no brainer. Save the money on other gear and put it towards a decent lid. You can especially save money on knee protection. You can buy top end gear second hand on ebay, or you can look for something slightly less intense. In the past I’ve purchased some skate knee pads, removed the plastic covers to make them less bulky and gone with those.

Ass protection is also a bonus. I started with trimming some camping mat foam and stuck it down my snowboard pants. Worked a treat. You’ll most likely want something a little more pimp nowadays, but typically you need to go for a whole ass pad arrangement rather than lots of little pads. Whatever you hit always finds a way around those little pads.

Hard plastic outers are not great. Dainese offer this stuff on their knee pads. It did nothing but boost the pain level and impact damage when I used them. I’ve found Forcefield to be the best top level protection.

A lot of guys go for back protection. Certainly worthwhile for more adventurous riding. After riding with a back protector for a number of years I found the main benefit was keeping my back muscles warm. I never ended up requiring the back protector to save me.

If you spend a lot of time sitting on the piste, then the chance of a friend or random falling over and hitting you in the back is a distinct possibility. Well worth considering it then.

Overall you do not need crazy tech or levels of protection unless you plan on doing boarder cross comps or dropping cliffs for breakfast. For normal humans who’ve done a bit of riding it will typically be a slow fall on your knees or butt on the piste or in the park. If you’re a total beginner however, more kit is preferred as the chance of a wrist break and coccyx impact are huge, so you want everything you can handle.

Forcefield Impact Protection

Forcefield Impact Protection

Before that I picked up a pair of leather mitts from TKmax and they’ve been going 4 seasons.
Most brands will have a top end leather glove, so have a look and see what works for you. Brands I know who’ve delivered dependable gloves are Burton, Burton AK and Dakine.

4 — Snowboards

Yikes, can I seriously be saying this right now. A snowboard is our primary emotionally driven purchase. Some guys spend hours evaluating the tech, but in all honesty it makes no ass of difference to someones riding.

Similar to bindings, snowboards are in essence very simple. The general innovations in recent times have been the advent of rocker and myriad of its variations. Plus the more freeride shapes as more guys venture off piste or want something a little more distinct from the crowd.

If you’re keen on the more mainstream brands and do your research there is no reason why you shouldn’t buy something second hand if you know how to wax a board and fill a small hole with ptex.

The other option is just wait for something in the sale. You might think someone might notice that your board is from last season, but actually no one will realise or give a damn. You’re more likely to fall into the “All the gear no idea” bracket if you’re dripping in all the latest gear but cannot ride for shit.

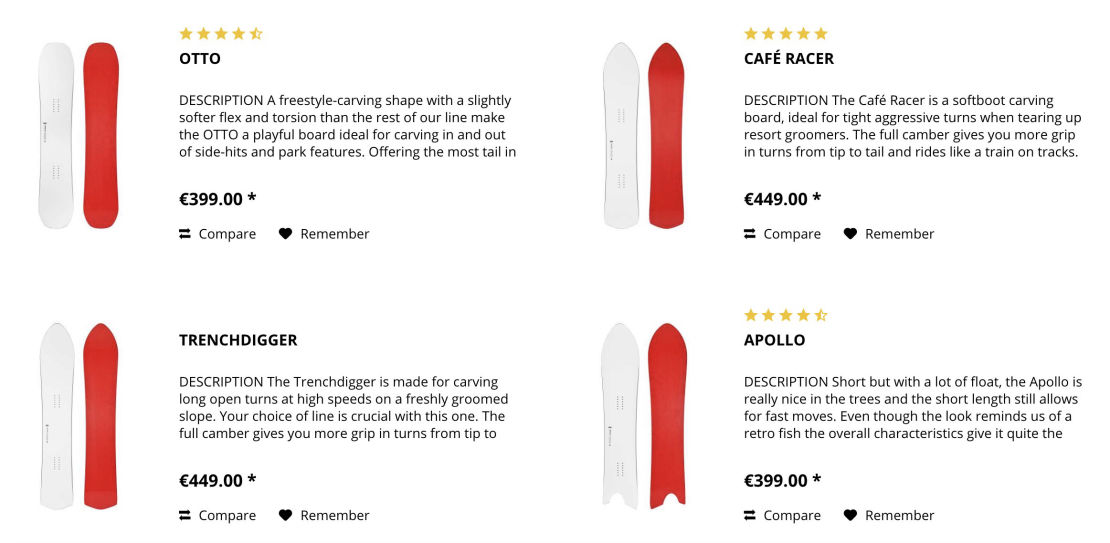
Brands like Korua have realised this and produce two colour boards. A red base and white top sheet. This takes away the pressure of seasonal board purchasing and helps them create a more sustainable business.

Korua Shapes
The tech can be bewildering, but just pin down what you want a board to do and your style of riding and match that to your choice. Most snowboard brands give a decent appraisal of what the board does and the style of riding it’s suitable for.

Just don’t head into a local snowboard store, chat about the right board and then buy it online from someone else. If you need that much support and information, just buy something direct from them and hopefully it will be in the sale. I recommend The Snowboard Shop or the Sick and the Wrong. They’ll discuss in detail your needs and find something just right for you. They also offer Maverix customers a 10% discount.

5 — Tuning

This is such an easy way for you to loose £40+. Literally if you have 30 minutes available you’ll do 95%-100% as good a job as a tech with £1000’s of equipment available. I know from experience as I’ve been a tech for major UK retailer.

The main difference you can make is waxing and taking off some burrs from the edges. Small nicks or scratches are not going to make a difference to the performance of your board. You’re not competing for a speed titles, so don’t panic. A decent wax will make a massive difference, and it will be better than the industry waxing machine that basically buffs a board.

In terms of edges, pick up a small fine metal file and use a little bit of force to remove any little imperfections that you feel when you lightly run your finger down the edge. Don’t be an idiot and try and cut yourself when you test for burrs.

You can get yourself setup for next to no money, either new of second hand, so you can keep saving for a number of years.

Follow us

FOLLOW THE FUN & PROGRESSION

Join the community

SIGN UP TO BE INFORMED & INSPIRED

© Copyright 2008-2024 Maverix Snow Ltd - All Rights Reserved - Privacy Policy - Terms & Conditions - Sitemap