Eurocarve on a Snowboard

A KEY TRICK FOR RIDING & FREESTYLE
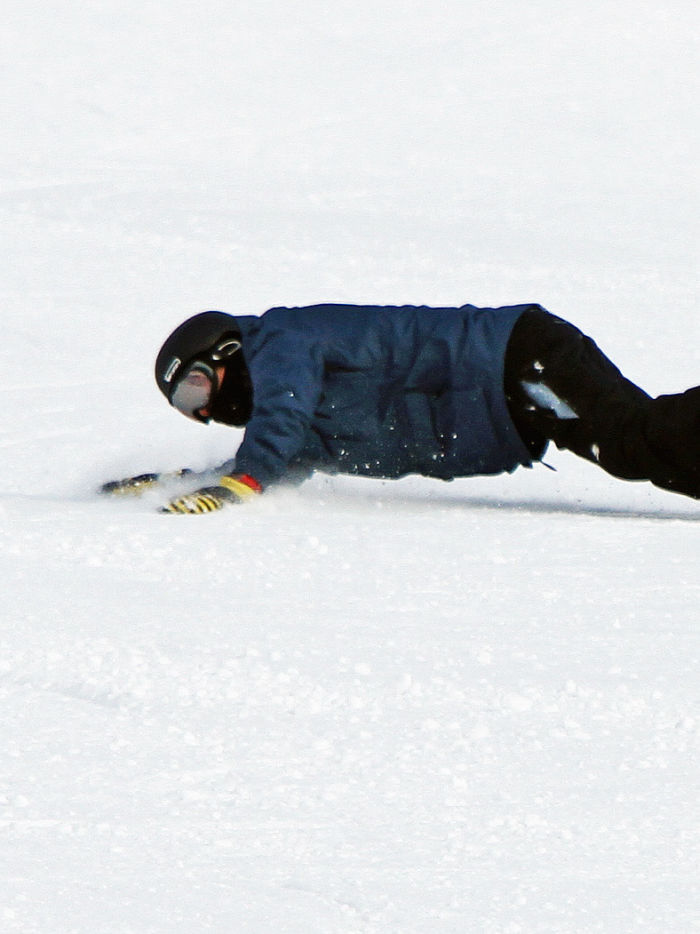
How to Eurocarve

As most snowboarders are getting a little older and little less flexible different things start to come into fashion. One of those is carving. A few years ago some crazy Russians started carving under ropes and since then there has been an increasing move towards laying down carves.

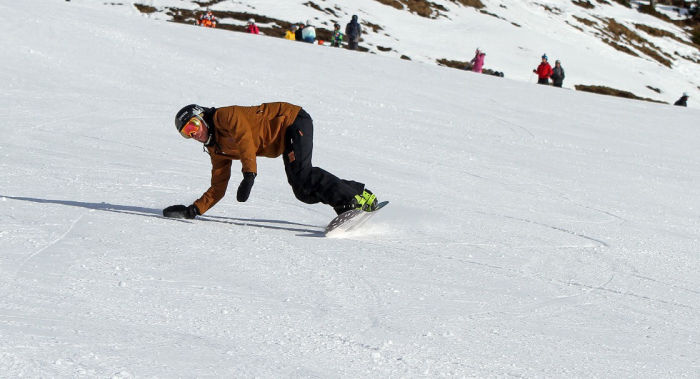
I got my first taste of eurocarves from the guys at Real Snowboarding in Zermatt in 2016 on a Level 4 BASI training course. The guys were showing us the basics and since then I’ve been trying the master the move and break it down for my clients.

This winter I worked with a few groups and tested out different theories and ways to build up to the movement without getting too nailed. Here are some thoughts on how you could can progress towards some sick carving.

Phase 1 — Posture

You’ll want to test the final on snow posture first. Your board points almost downhill. Your in a plank position resting on the forearm of your back arm with your hand pointing in the same direction as your board and your front hand resting on the snow to support you (optional on front hand). You can start to practice this move at the top of the slope as shown by Sian below.

Phase 2 — Getting Low

The eurocarve basically involves you falling on your face with style. Its a lot easier and less painful to fall onto the snow when you’re close to the ground. Do a few heel side carves getting low and either touching your board or maybe touching the ground on a toeside carve.

Phase 3— Start the ball rolling

This is where you start to get the timing right and trusting to get low to the snow on your toeside carve.

The basic process to follow is:

1 — Heelside carve across the slope.

2 — Get low with arms in position. The main one being your back arm up to protect your face and grip the cuff of your jacket to stop the snow going up your arm and reduce the chance of ice burn.

3 — Start to put your arms down just as you roll onto toe edge. The board should be aiming almost straight down the slope, not generally fully across.

4 — Push legs out as your arms/hands touch the ground. Your aim is to be fully extended in the plank position whilst travelling down or very slightly across the slope. If you’re doing these more across the slope then you’ll have to extend your upper body as the board will be in too much of a locked carve making it difficult to extend your legs.

5 — Absorb and bring your legs back into your torso to get out of the carve.

You can see in the video how Sian is starting to build the elements. You can do this quite slowly to begin with. To have a full euro she will be aiming to slide almost directly down the slope, not across.

Phase 4 — Iron out the faults

Pick some mellow terrain that’s not too icy. An open blue or some easy sections of a red run would be ideal. Your going to start travelling across the slope so make sure you have plenty of room to ride. The early morning is especially good as the snow will have a nice layer and a few less punters on the piste. Your going to get covered in snow, so you just want to get used to it.

Common Faults

Back arm angle

If your back forearm is not in line with the board as you touch the ground your arm will be pulled backwards and be quite painful. As you touch down make sure that your back hand and forearm are parallel with the board.

Breaking at the waist

This will be one of the last things to work on. As you start to get more confident aim to bring you ass inwards so you can form a straight line down to the board and hug the snow in a more traditional plank position.

Initiating across the hill

Your aim is to slide almost directly down the hill. If you're across the hill it will be difficult to complete the stretch out. This will come down to timing of the fall. You have to do it just before you're on your toe edge.

You’ll be hooked on these once you start them so enjoy getting covered in snow and learning how to fall with style.

Follow Us

FOLLOW OUR ADVENTURES

Join our Community

SIGN UP TO BE INFORMED & INSPIRED

© Copyright 2008-2021 Maverix Snow Ltd - All Rights Reserved - Privacy Policy - Terms & Conditions - Sitemap