Method Air

THE BEST FEELING ICONIC MOVE
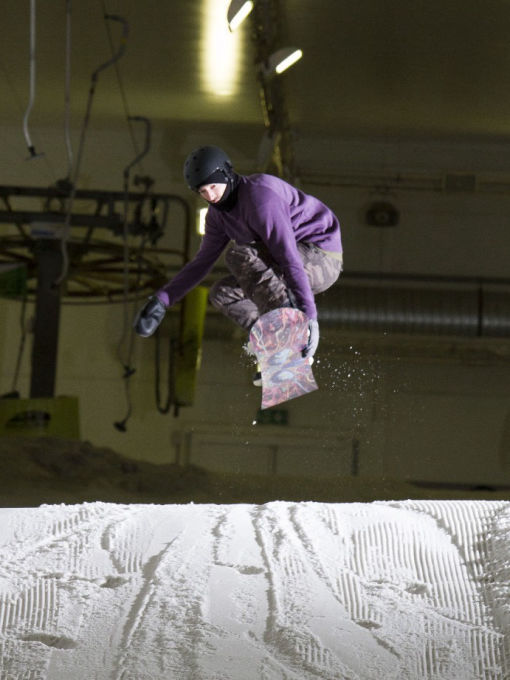
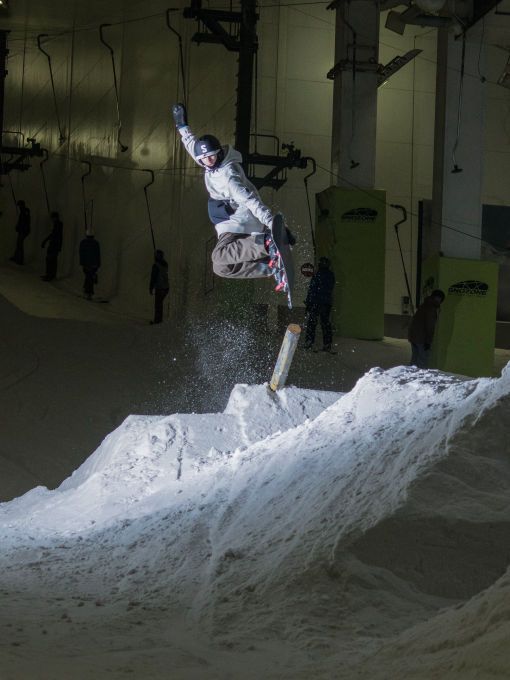
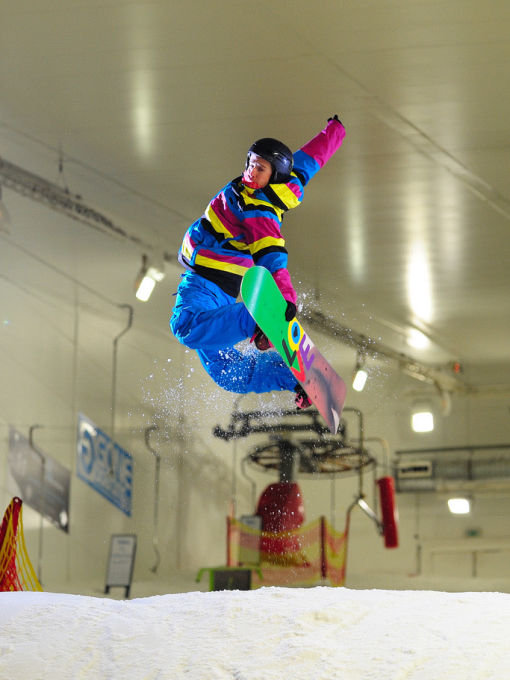
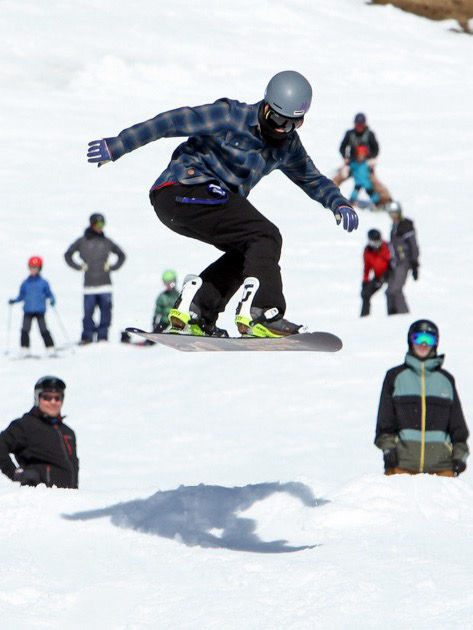
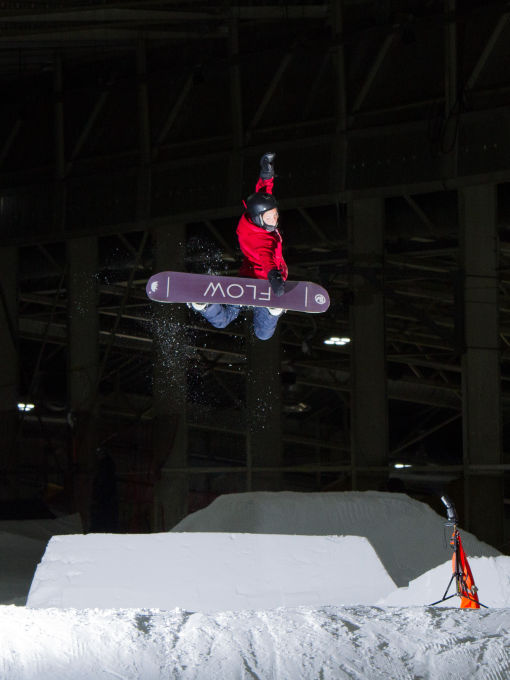
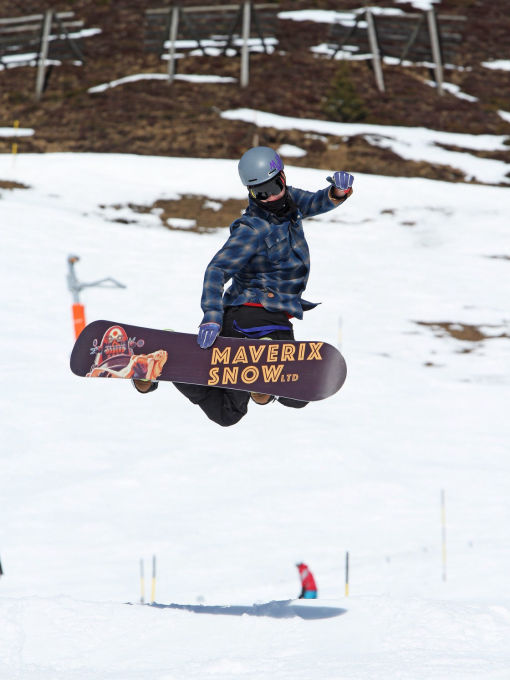
How to Method Air

A Method is as iconic as it gets on a snowboard, but it’s not the easiest trick to just bust out.

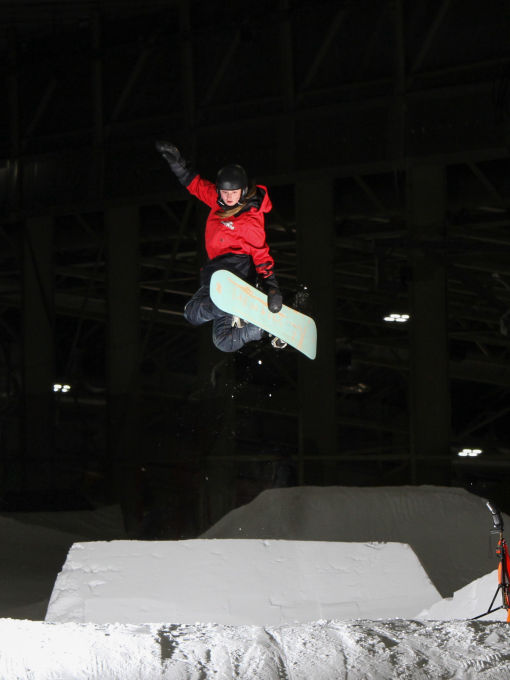
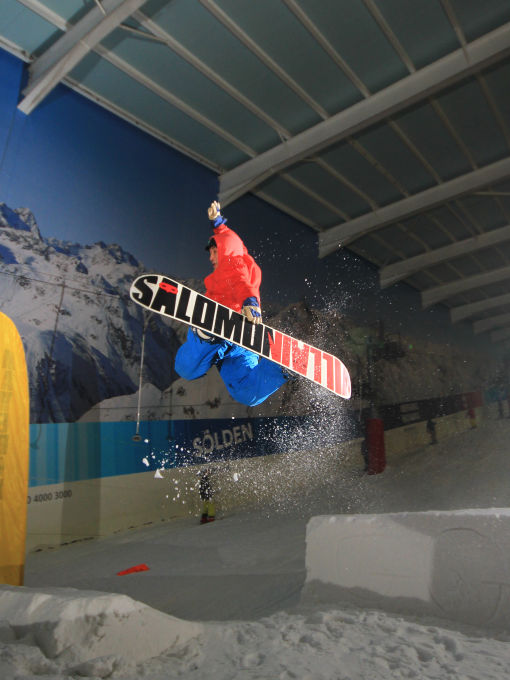
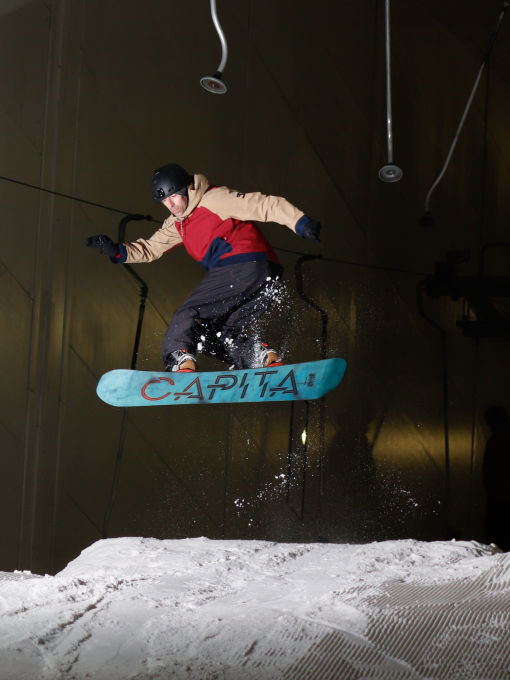
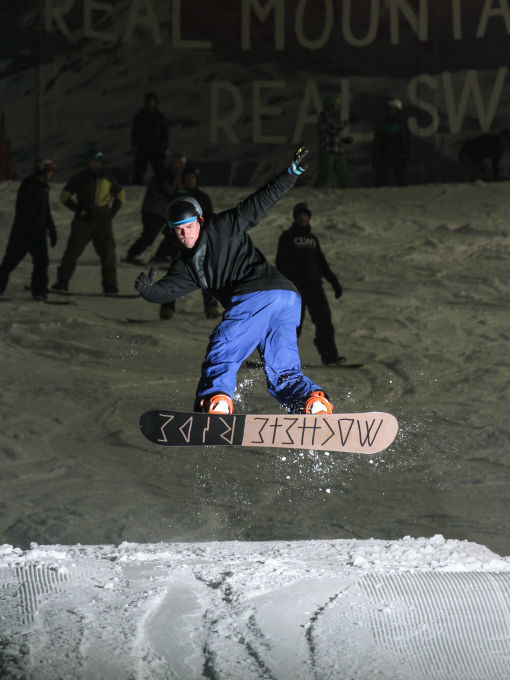
If you can work through a series of tricks that build into the Method then you’ll go from a punter to a pro in no time. Plus you’ll develop a ton of other useful skills on the way that'll build a much better foundation for your freestyle riding.

PART 1

Melon Grab

This is where you bring the board up and grab between your bindings on your heel edge with your front hand whilst still trying to keep the board flat. This will work the required grab location for the Method and help build the foundations for being compact in the air and ready to perform. Videos of the trick can be seen here.

Approach

Start directly behind the kicker at a point that will enable you to safely land on the table top or just over the knuckle on a straight air.
Aim to be flat base as you travel up the kicker with your upper body aligned with the board  as you ride up the kicker.

Takeoff

Start from a low, flexed position with your front hand ready by your front knee for the grab.
You can maintain a flat base or transfer the pressure slightly to your toes as you initiate a pop or ollie at the lip of the kicker.


Rider - Sam Coates

Trick

An ollie will create a more fluid movement and make the grab easier. You grab between your bindings with your front hand, keeping the board as flat as possible. Bring your knees up to your chest to make your body compact and keep your shoulders inline with the board.

Credit - Transworld Snowboarding Instagram

Landing

Be ready to absorb the landing with a focus towards a soft landing on the toe edge to enable control and then ease the board to flat if required absorbing more through your legs than your back.
Ride away straight for a short while before speed checking to look more fluid and stylish.

PART 2

Tourist Method

This is what a lot of people think is a Method. I call it a Tourist Method. It’s close, but doesn't have the required hip rotation or tweak where your board faces downhill for it to really count. Your aim is to combine the grab from the Melon with the lift of the legs behind you. It will be freaky to start moving the board this way, but it's a great way to get used to the board being outside of the typical Straight Air position.

Approach

Start directly behind the kicker at a point that will enable you to safely land on the table top or just over the knuckle on a straight air.
Aim to have your weight more biased to the toe edge with your upper body aligned with the board as you ride up the kicker.

Takeoff

Start from a low, flexed position with your upper body aligned with board and your front hand ready by the back of your front knee for the grab.

You should transfer slight pressure to your toes for a preferred popped takeoff.

Trick

The pop will enable an easier initiation for bringing your board up behind you.

Have your front hand in place ready to meet the board. You can use your back arm as a counter balance whilst in the air.


Landing

Don't forget to bring your board back down underneath you. Be ready to absorb the landing with a focus towards a soft landing on the toe edge to enable control and then ease the board to flat if required absorbing more through your legs than your back.

PART 3

Backside Shifty

With the Backside Shifty you’re aiming for your shoulders to remain pretty much pointing unchanged as you twist your hips so your hips, legs and board are facing down the slope. The more you relax and keep your shoulders in line with the fall line the more counter twist of your hips you’ll be able to achieve. The more your whole chest faces down the slope the less lower body twist you’ll be able to achieve.

Approach

Start directly behind the kicker at a point that will enable you to safely land on the table top or just over the knuckle on a straight air.
Aim to have your weight more biased to the toe edge with your upper body aligned with the board as you ride up the kicker.

Takeoff

As you travel up the kicker maintain a compact body to enable easier separation. Point your front hand over the kicker and be ready to use your back arm as the main rudder to initiate  the separation between the upper and lower body.

Trick

Look to twist your lower body in the opposite direction to your upper body. The heel edge of your board should end up facing downhill. Practise off the board first to gain a feel for the separation. Think of the move as being similar to kicking a ball behind you with your back leg.

Landing

Use the same counter rotation to bring the board back underneath you for a safe landing. Be ready to absorb the landing with a focus towards a soft landing on the toe edge to enable control and then ease the board to flat if required absorbing more through your legs than your back.

PART 4

Method Air

A lot of guys struggle to blend these movements together as they try to get too much rotation with their upper body. The movement is initiated more from the hips and legs. You're upper body remains pretty chilled as you aim to bring the board to your front hand, not the other way around. Trying these on a trampoline first can help to isolate the required movement.

Approach

Start directly behind the kicker at a point that will enable you to safely land on the table top or just over the knuckle on a straight air.
Aim to have your weight more biased to the toe edge with your upper body aligned with the board as you ride up the kicker.

Takeoff

A pop off the lip of the kicker will create a more fluid initiation towards the grab as it's a similar start as a backside 180 rotation. Point your front hand over the kicker and be ready to use your back arm as the main rudder to initiate the separation between the upper and lower body.

Trick

You're looking to focus more on hip rotation and bringing board to your leading hand by bending your knees and pulling the board up. You should feel a twist in your lower back as you tweak into the movement.
Use your back arm to counter balance when bringing the board up. 

Landing

Use the same counter rotation to bring the board back underneath you for a safe landing. Be ready to absorb the landing with a focus towards a soft landing on the toe edge to enable control and then ease the board to flat if required absorbing more through your legs than your back.

Follow us

FOLLOW THE FUN & PROGRESSION

Join the community

SIGN UP TO BE INFORMED & INSPIRED

© Copyright 2008-2024 Maverix Snow Ltd - All Rights Reserved - Privacy Policy - Terms & Conditions - Sitemap